DIY Repair Tips

Discover practical DIY repair tips for home and electronics repairs. Improve repair success, avoid common mistakes, work safely, and understand when professional repair may be the better option.

Popular DIY Repair Tips

Explore practical repair tips covering preparation, safety, repair techniques, tool usage, troubleshooting, and common mistakes before starting your next repair project.
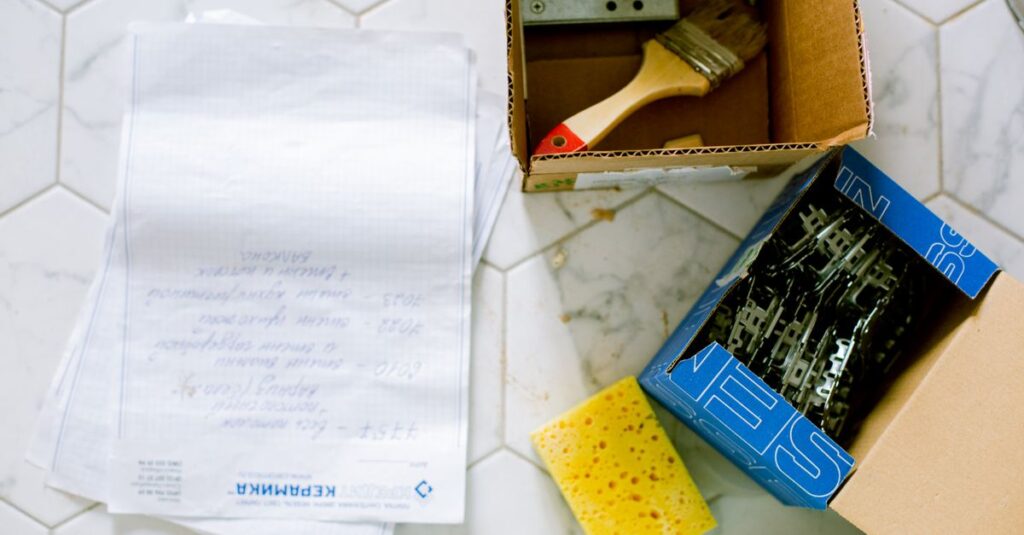
Flat lay of home renovation tools including paintbrush, sponge, and hardware on tiled floor.
Before You Start
Prepare your workspace, identify the problem, and gather the correct tools and replacement parts.
Confident female construction worker wearing safety gear and holding a drill indoors.
Repair Safety
Protect yourself by following basic electrical, mechanical, and workplace safety practices.
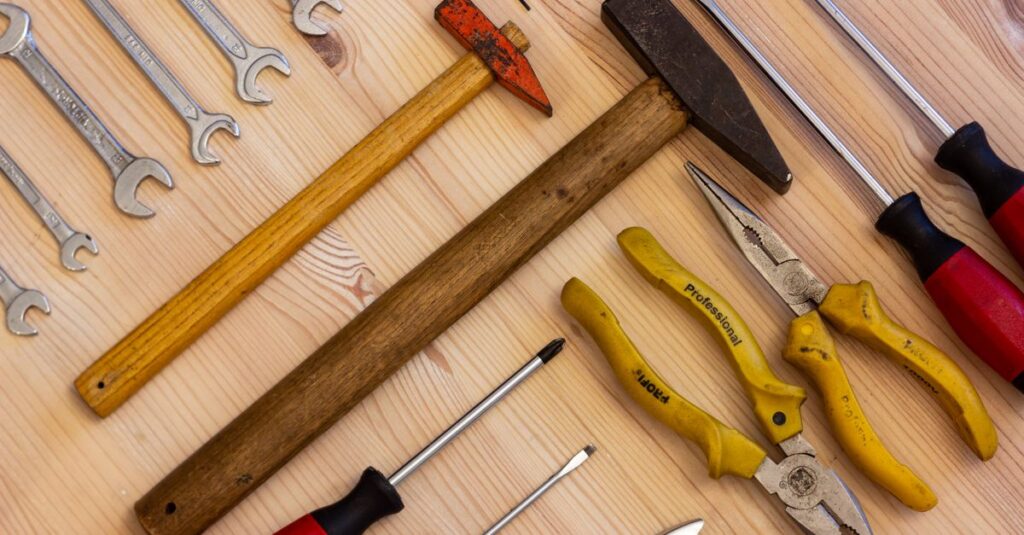
A variety of hand tools including wrenches, screwdrivers, and pliers on a wooden surface.
Using Repair Tools
Learn how to safely use common repair tools for home and electronics repairs.
Adult working on a laptop with a cracked screen, indoors setting.
Common Repair Mistakes
Avoid mistakes that may damage parts, increase repair costs, or create safety risks.
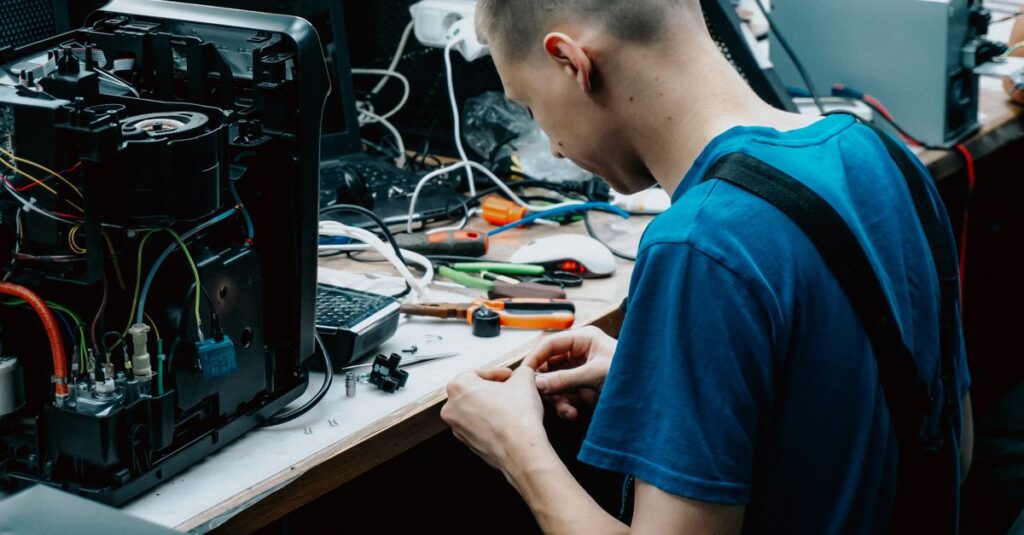
Skilled technician seated at a workbench repairing electronic devices in a workshop setting.
Troubleshooting Tips
Identify common repair problems before replacing unnecessary components.
A young caucasian woman wearing safety glasses and ear protection works with electronics indoors.
When to Call a Professional
Recognize situations where professional repair services are the safer and more cost-effective choice.

DIY Repair Best Practices

Following good repair practices improves repair quality, reduces unnecessary mistakes, and helps protect both you and your equipment during the repair process.

  • Disconnect power before starting repairs
  • Use the correct repair tools
  • Organize screws and small components
  • Follow manufacturer recommendations
  • Work in a clean, well-lit area
  • Wear appropriate safety equipment
  • Test repairs before reassembly
  • Document disassembly when needed

Common DIY Repair Mistakes

Many repair failures are caused by simple mistakes that can be avoided with proper preparation and careful repair techniques.

  • Skipping diagnostic checks
  • Using incorrect replacement parts
  • Applying excessive force
  • Using poor-quality tools
  • Ignoring safety precautions
  • Losing screws or small parts
  • Rushing the repair process
  • Failing to test before reassembly

DIY Repair Success Tips

Successful DIY repairs begin with proper preparation, quality tools, careful diagnostics, and realistic expectations. Understanding your skill level and knowing when to seek professional assistance can reduce repair costs while preventing unnecessary damage.

F.A.Q.

DIY repairs can be safe when you use the correct tools, follow safety instructions, disconnect power sources, and understand the repair process. If a repair involves electricity, gas, or structural components, professional assistance may be the safer option.
Basic DIY repairs typically require screwdrivers, pliers, wrenches, measuring tools, safety glasses, gloves, and task-specific repair tools. Always choose tools designed for the repair you plan to perform.
Before beginning any repair, identify the problem, gather the correct replacement parts and tools, organize your workspace, disconnect power when necessary, and review the repair instructions.
Handle parts carefully, use the proper tools, avoid excessive force, and verify compatibility before installation. Keeping your workspace clean also helps prevent accidental damage.
OEM parts generally provide the best compatibility and performance, while quality aftermarket parts may offer a more affordable alternative. Choose the option that best fits your repair needs and budget.
Some manufacturers may limit warranty coverage if unauthorized repairs are performed. Review your warranty terms before attempting any DIY repair to understand potential restrictions.
Stop the repair if you encounter electrical hazards, specialized components, safety concerns, missing tools, or problems beyond your experience. Continuing without proper knowledge may cause additional damage.
Use labeled containers, magnetic mats, or compartment organizers to keep screws and small parts separated during disassembly. Taking photos during each step can also simplify reassembly.
Consider professional repair when specialized equipment, advanced technical skills, safety certifications, or manufacturer-specific procedures are required.
Common mistakes include skipping diagnostics, using incorrect replacement parts, applying excessive force, ignoring safety precautions, losing small components, and failing to test the repair before reassembly.

Related Articles

No posts found.