DIY repairs can be safe when you use the correct tools, follow safety instructions, disconnect power sources, and understand the repair process. If a repair involves electricity, gas, or structural components, professional assistance may be the safer option.
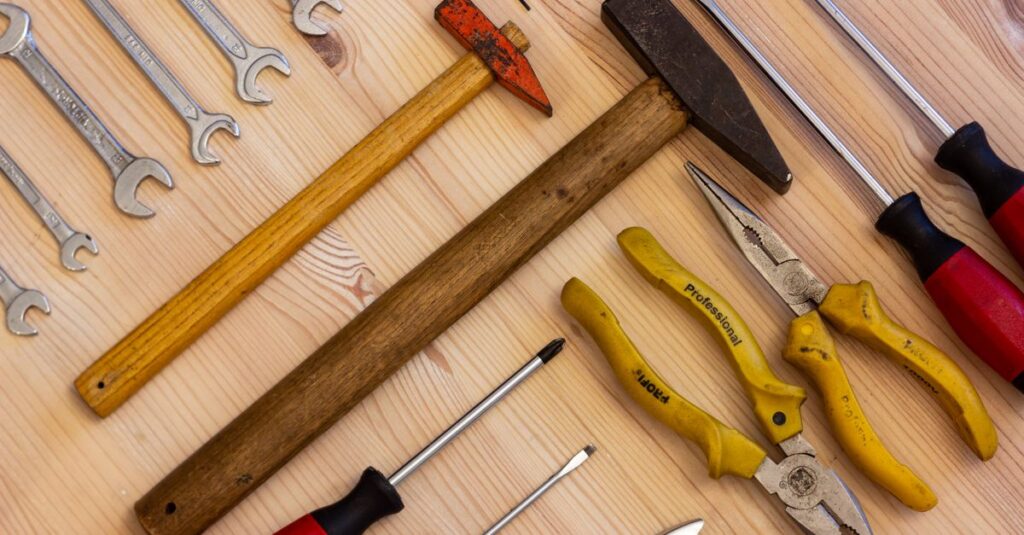
Basic DIY repairs typically require screwdrivers, pliers, wrenches, measuring tools, safety glasses, gloves, and task-specific repair tools. Always choose tools designed for the repair you plan to perform.
Before beginning any repair, identify the problem, gather the correct replacement parts and tools, organize your workspace, disconnect power when necessary, and review the repair instructions.
Handle parts carefully, use the proper tools, avoid excessive force, and verify compatibility before installation. Keeping your workspace clean also helps prevent accidental damage.
OEM parts generally provide the best compatibility and performance, while quality aftermarket parts may offer a more affordable alternative. Choose the option that best fits your repair needs and budget.
Some manufacturers may limit warranty coverage if unauthorized repairs are performed. Review your warranty terms before attempting any DIY repair to understand potential restrictions.
Stop the repair if you encounter electrical hazards, specialized components, safety concerns, missing tools, or problems beyond your experience. Continuing without proper knowledge may cause additional damage.
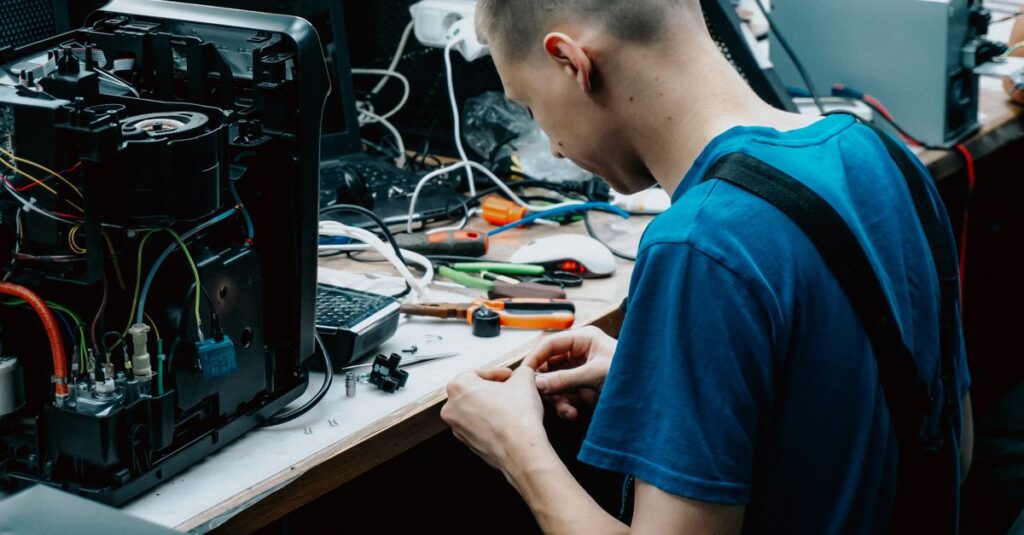
Use labeled containers, magnetic mats, or compartment organizers to keep screws and small parts separated during disassembly. Taking photos during each step can also simplify reassembly.
Consider professional repair when specialized equipment, advanced technical skills, safety certifications, or manufacturer-specific procedures are required.
Common mistakes include skipping diagnostics, using incorrect replacement parts, applying excessive force, ignoring safety precautions, losing small components, and failing to test the repair before reassembly.